
How to Manage a Website Using Dreamweaver (Basic)
Dreamweaver is Adobe’s foremost web development software app. Although the interface can look intimidating to non-tech users, it’s pretty easy to use once you get to know some of its functions and tools.
With Dreamweaver, you can create and edit several types of websites — from simple ones (such as pure HTML) to more complex pages (such as ActionScripts, CSS, JavaScript, ASP, ColdFusion, JSP, and PHP).
If you have a website, you can use the power of Dreamweaver to manage it more effectively. For this tutorial, I will discuss the program’s Basic site management settings. I will talk about the Advanced settings tomorrow.
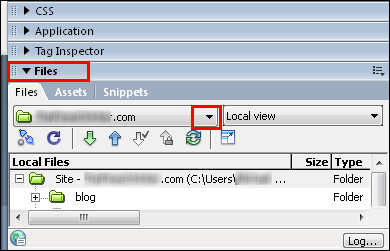
The first step is to open Dreamweaver and click the Files side panel.
Next, press the drop-down arrow as shown below.
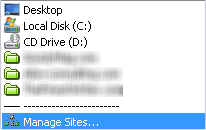
Then hit Manage Sites.
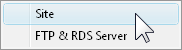
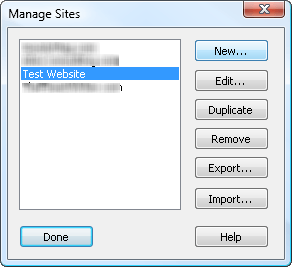
In the Manage Sites window, click the New button and
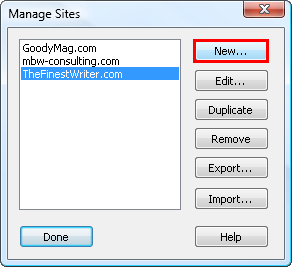
press Site.
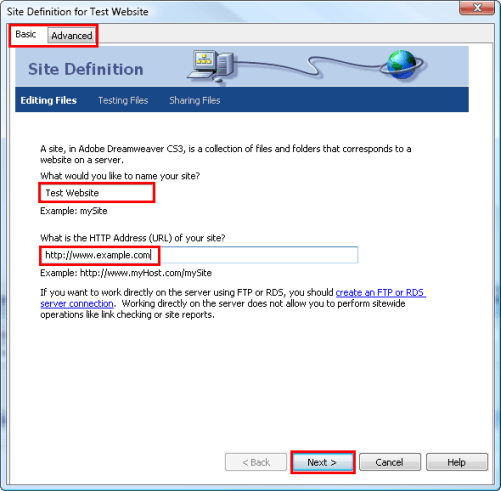
There are two site management types, for this illustration we will use the Basic settings.
Name your website for easy referencing later, and then enter its HTTP Address or URL. Press Next > to proceed.
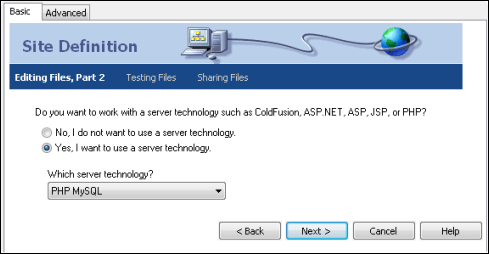
If you want to integrate a server technology to your site, tick the second option and select what server technology you want to have. As an example, we picked PHP MySQL.
You should also choose this option if one or more of your webpages has PHP / MySQL codes.
Click Next >.
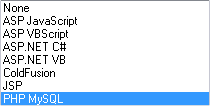
Some of the server technologies you can opt include the following.
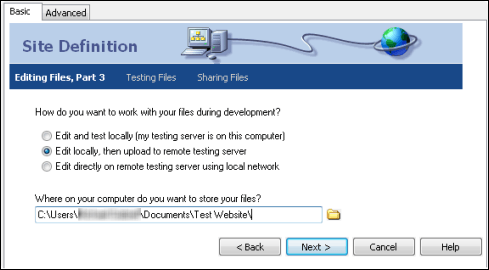
Tick Edit locally, then upload to remote testing server and browse to where you want to save / store all your site’s files.
Hit Next > to continue to the next step.
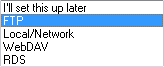
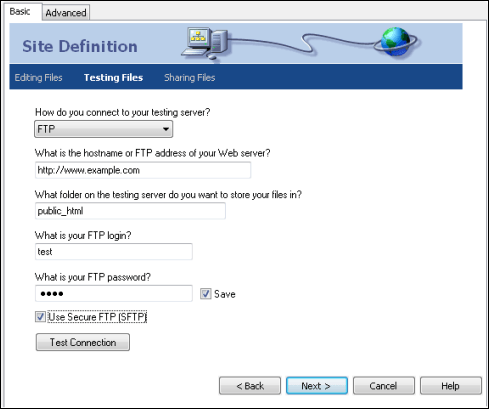
To test your files, you must choose how you want to connect to your testing server. For this illustration, we will connect through FTP (file transfer protocol).
Next, enter your web server’s hostname or FTP address, and specify what folder in your testing server you want to save / store all your site’s files.
Enter your FTP login username and password. To identify whether or not all these settings are correct, click the Test Connection button. If the connection is successful, press Next >.
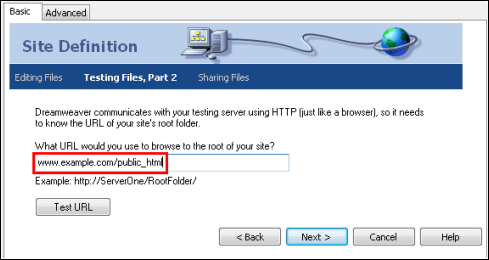
After that, input your website’s root folder. To test that directory, hit Test URL. If it went through, proceed to the subsequent step.
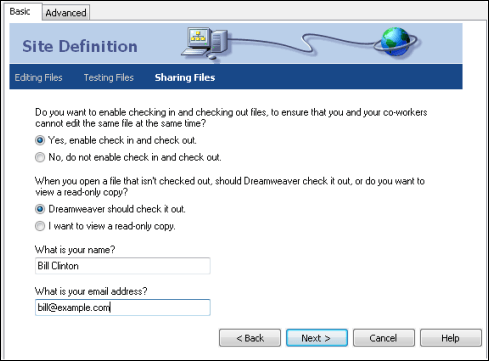
If you’re not the only one managing and / or editing your website, enable the checking in and out of the files. Tick Dreamweaver should check it out, and enter your name and email address.
Click Next >.
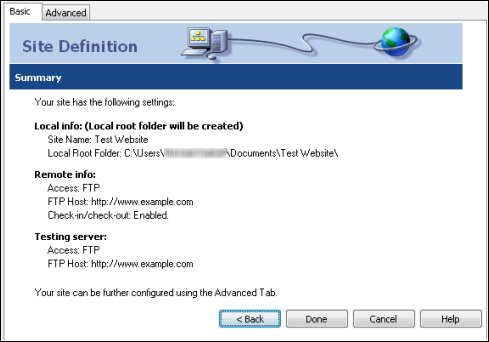
You’ll be presented with the Site Definition summary. If all are correct, press the Done button.
The Site Definition interface will then be closed. Press Done in the Manage Site window.
Your website is now added to Dreamweaver’s File side panel. Under Local Files, right-click your site and

press Get. This process will download all your website’s files from your web server.

Depending on how large your website is, the downloading will take some time to finish.
When the Get process is complete, your website will be locally stored in your computer and will have a Dreamweaver structure just like the one below. All downloaded files can be managed, edited, and deleted locally and uploaded to your remote server. You can also create a new webpage and file and save it to your web server.


0 comments »
Add your comment below,or trackback from your own site.
Be nice. Keep it clean. Stay on topic. No spam.